 |
| original source |
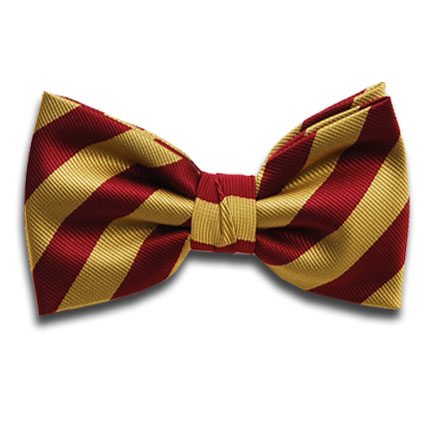
Solving the puzzle of tying a bow tie has always been a difficult task for me. I remember back to my high school class night to which i was late to because I could not tie my bow tie. So for you guys who have stumbled upon my second blog post, I will be providing simple instructions on how to tie a bow tie. When complete the bow tie should look similar to the picture on the right. A bow tie will be the only materials you will need.
1. Begin with the bow tie laying face up. Adjust the bow tie so that the ride side is longer in length than the left.
2. Cross the right side (longer end) of the tie over the left side (shorter end)
3. Bring the longer side up and through the neck loop.
4. At the joint, fold the shorter end towards the right and then towards the left to create a the bow shape.
5. Bring the longer end straight down over the middle of the bow shape that was made with the short end.
6. Fold the longer end back towards the chest and pinch the fold.
7. Push the pinched end (long end) through the loop behind the short end.
7. Push the pinched end (long end) through the loop behind the short end.
8. Pull on the folded parts of the bow to tighten.
9. Adjust until balanced on both sides.
9. Adjust until balanced on both sides.
Now that you have a basic understanding of how to tie a bow tie, attempt tying the bow tie on another person. This will allow you to lean how to tie a bow tie better as well as lean how to truly adjust the knot.
No comments:
Post a Comment